Introduction
If you’re looking to start seeds successfully and extend your growing season, learning how to set up a greenhouse for seed starting is an essential skill. A greenhouse provides a controlled environment for germinating seeds, nurturing young seedlings, and giving your garden a head start. This comprehensive guide will walk you through every step, from choosing the right location and materials to optimizing your setup for healthy, robust plants.

Benefits of Greenhouse Seed Starting
- Controlled Environment: Protects seeds from extreme weather, pests, and diseases.
- Earlier Planting: Start seeds earlier in the season before outdoor conditions are ideal.
- Increased Success Rate: Consistent temperature and humidity promote reliable germination.
- Efficient Use of Space: Maximize the number of seedlings grown in a compact area.
By understanding greenhouse seed starting, you can enjoy a longer growing season, healthier transplants, and a more productive garden.
Step 1: Choose the Right Greenhouse for Seed Starting
There are several types of greenhouses suitable for seed starting. Consider your available space, budget, and long-term gardening goals. Popular options include:
- Mini Greenhouses: Perfect for small gardens or patios, easy to assemble and move.
- Cold Frames: Simple, low-cost structures that use sunlight to warm soil and air.
- Walk-in Greenhouses: Provide more space and headroom, ideal for larger seed starting operations.
- Permanent Greenhouse Structures: Best for dedicated gardeners, offering maximum control over climate.

Step 2: Selecting the Best Location
Sunlight: Place your greenhouse where it will receive at least 6-8 hours of direct sunlight daily, especially in early spring.
Drainage: Ensure the site is well-drained to prevent waterlogging and root rot.
Wind Protection: Position your greenhouse where it’s shielded from strong winds, or use windbreaks if needed.
Clear the area of debris and level the ground before assembling your greenhouse. Good preparation ensures stability and optimal growing conditions.
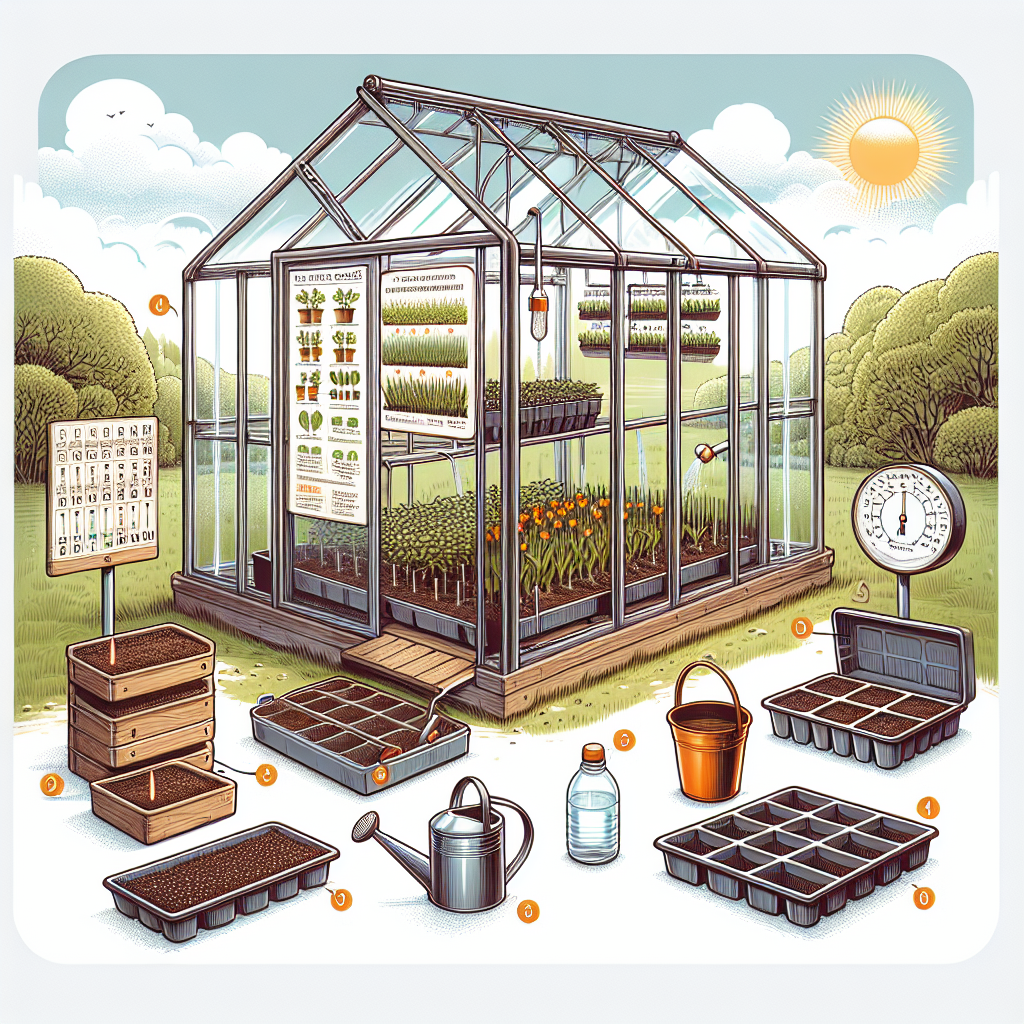
Step 3: Setting Up Your Greenhouse for Seed Starting
Essential Equipment and Supplies
- Seed trays or starter cells
- Sterile seed starting mix
- Watering can or gentle spray bottle
- Grow lights (if supplemental lighting is needed)
- Heat mats for bottom warmth
- Thermometer and hygrometer
- Ventilation system (manual or automatic vents)
- Labels and markers
- Fans for air circulation
Layout and Organization Tips
- Benches or Shelving: Use tiered shelving to maximize vertical space and keep seedlings at a comfortable working height.
- Pathways: Leave clear walkways for easy access and maintenance.
- Water Source: Ensure you can easily water your seedlings without excessive effort.
Organize your greenhouse so that all trays receive adequate light and airflow. Avoid overcrowding, which can lead to disease.
Step 4: How to Start Seeds in a Greenhouse
- Fill trays with seed starting mix: Moisten the mix before filling your trays or cells.
- Sow seeds at the recommended depth: Follow the instructions on your seed packets for best results.
- Label each tray: Use waterproof markers to keep track of varieties and sowing dates.
- Maintain moisture: Mist gently or bottom-water to avoid disturbing seeds.
- Provide warmth: Use heat mats if your greenhouse is cool, maintaining temperatures between 65-75°F (18-24°C) for most seeds.
- Monitor humidity: Use a dome or clear plastic cover to retain moisture until seeds germinate, then remove to prevent mold.
- Light: If sunlight is insufficient, supplement with grow lights for 12-16 hours daily.
Regularly check your trays for signs of germination and adjust temperature, humidity, and lighting as needed.

Step 5: Maintaining Your Greenhouse for Strong Seedlings
- Ventilation: Open vents or doors daily to prevent overheating and reduce disease risk.
- Watering: Keep soil moist but not soggy. Water in the morning to allow foliage to dry.
- Air Circulation: Use fans to promote airflow and discourage fungal diseases like damping-off.
- Fertilization: Once true leaves appear, feed seedlings with a half-strength, balanced liquid fertilizer.
- Hardening Off: Before transplanting, gradually expose seedlings to outdoor conditions over 7-10 days.
Keeping your greenhouse clean and monitoring your seedlings daily will ensure healthy, vigorous plants ready for transplant.
Troubleshooting Common Issues
- Leggy Seedlings: Caused by insufficient light. Move trays closer to light sources or add grow lights.
- Mold or Fungus: Improve ventilation and reduce humidity. Avoid overwatering.
- Poor Germination: Check seed viability, soil temperature, and moisture level.
- Overheating: Use shade cloth and open vents on hot days.
Addressing these issues promptly will help you achieve the best results when starting seeds in a greenhouse.
Final Tips for Successful Seed Starting in a Greenhouse
- Start with high-quality seeds and sterile soil to reduce disease risk.
- Keep a seed starting journal to track what works best in your greenhouse environment.
- Experiment with different seed starting supplies and schedules to improve success.
- Regularly inspect your greenhouse structure and repair any damage to maintain optimal conditions.
- Remember, patience and observation are key to mastering greenhouse gardening for seed starting.
With your greenhouse set up for seed starting, you’ll be able to grow your own seedlings with confidence, resulting in healthier plants and a more productive garden all season long.